
Choosing Light Wavelength, Polarisation and Filters
Lighting is often treated as an illumination problem — brighter is surely clearer. It is the opposite. The job of lighting is to separate the feature being judged from its surroundings in grey level, so the defect stands out on its own. What accomplishes that is not brightness but three variables that change contrast directly: wavelength, polarisation and filtering. Each has its own cost. Wavelength forces a colour choice, polarisation eats most of the energy, and a filter requires the light source and the lens to match exactly. This article works through the order: decide what must be separated, choose the wavelength, then add polarisation and filtering.
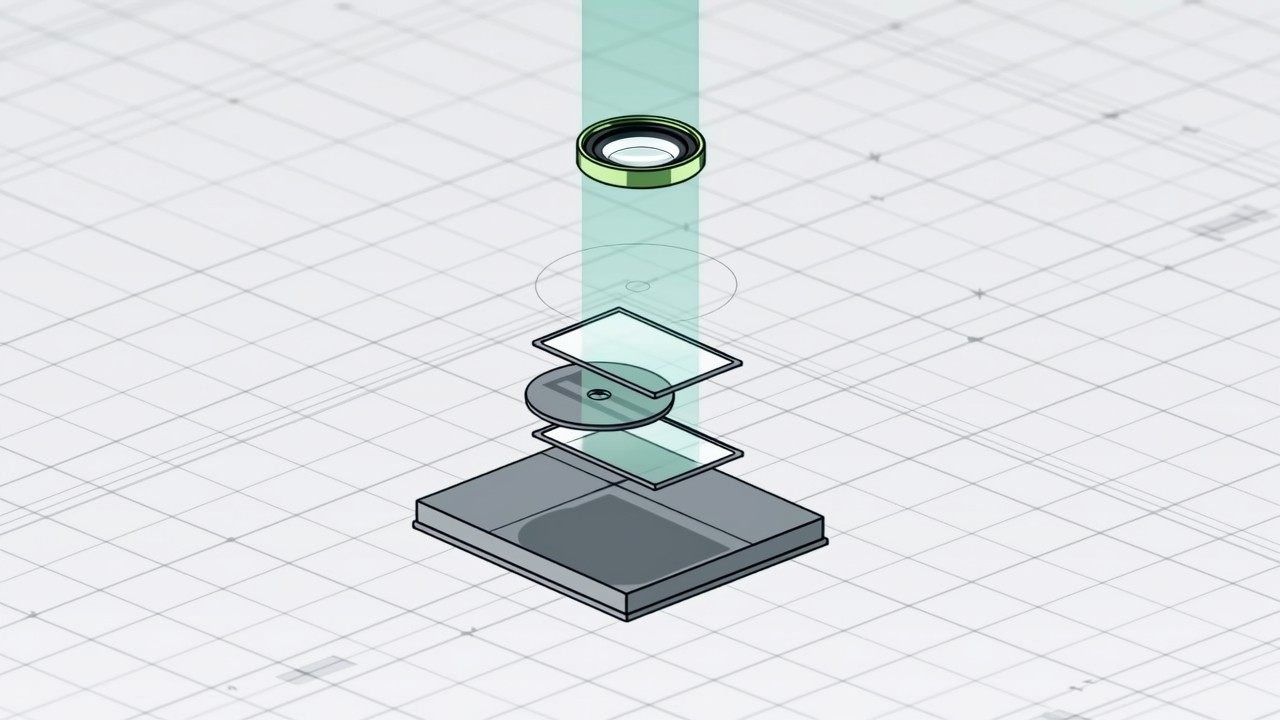
Key takeaways
- Lighting a part with its own colour brightens it; lighting it with the complementary colour darkens it.
- Monochrome light plus a narrow band filter is the cheapest effective defence against ambient light.
- A crossed pair of polarisers removes specular glare at the cost of most of the light energy.
- Infrared passes through some inks and coatings; ultraviolet excites fluorescence for residue checks.
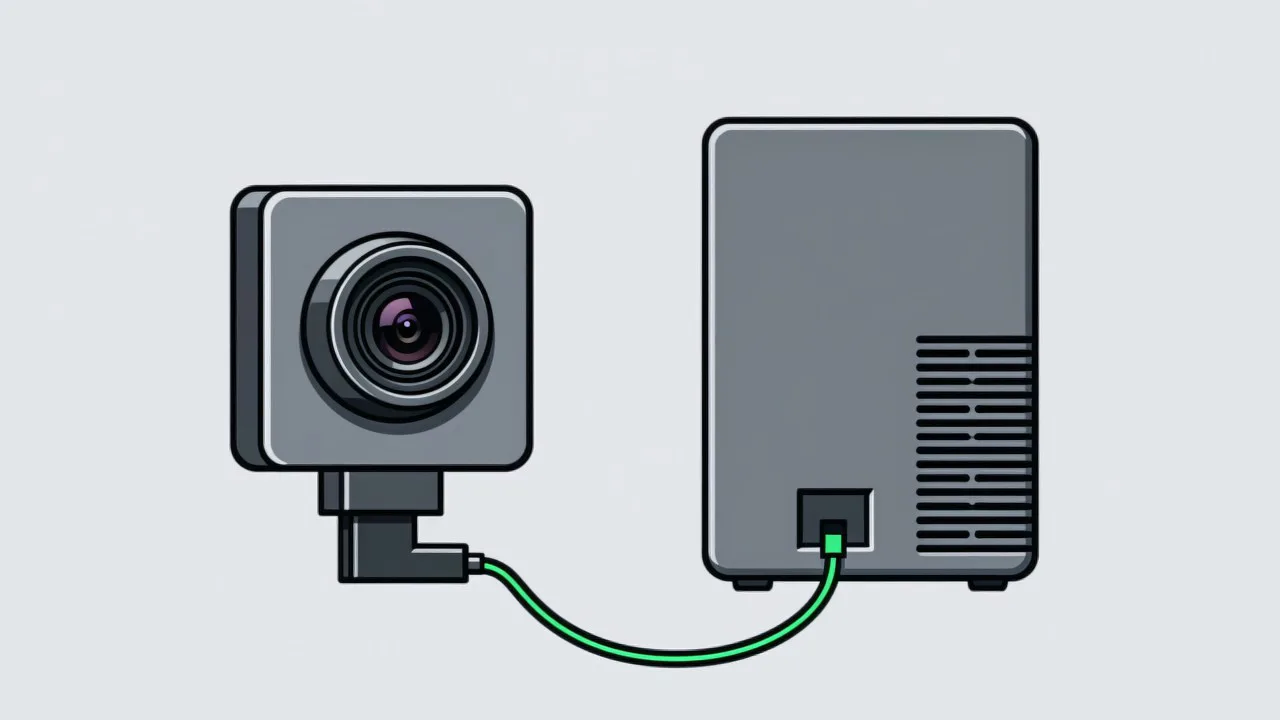
The purpose of lighting is not to brighten the image but to separate the feature being judged from everything around it in grey level. The same scratch is nearly invisible under one setup and obvious under another, and the difference is not brightness but contrast. Once that is understood, lighting stops being a matter of adding two more lamps and hoping and becomes directional: decide which two things must be told apart, then find the variable that amplifies the difference between them. Wavelength, polarisation and filtering are the three variables that change contrast directly.
Colour contrast first, brightness second
A surface appears a given colour because it reflects that wavelength and absorbs the complementary one. That yields a practical rule: illuminate a part with its own colour and it brightens; illuminate it with the complementary colour and it darkens. A concrete case: inspecting a yellow mark on white packaging. Under white light both are bright and the grey difference is small, making the threshold hard to place. Switch to blue light and the yellow absorbs it and darkens while the white keeps reflecting and stays bright, so the separation opens up and the decision becomes easy. The reverse case matters too: for dark characters on a yellow label, blue light is the wrong choice, because darkening the yellow brings it closer to the characters. Yellow or red light is what that task wants.
| Wavelength | Character | Typical use |
|---|---|---|
| Red, about 630 nm | Brightens yellow, orange and red surfaces | Dark characters on yellow labels; comparatively gentle on glare |
| Blue, about 470 nm | Short wavelength, less diffraction, sharper edges | Darkens yellow and gold surfaces, sharpens outlines |
| Green, about 525 nm | Where sensor quantum efficiency peaks | Brightest image per watt; the usual monochrome default |
| Infrared, 850 nm and above | Passes through some inks, coatings and plastics | Structure hidden under printed artwork, or defects below the surface |
| Ultraviolet, about 365 nm | Excites fluorescence | Adhesive residue, sealant coverage, coating pinholes |
Monochrome light has another benefit that is easy to undervalue: it collapses the colour dimension. White light contains every wavelength, so the reflections of different materials average together and the grey difference flattens out. Under monochrome light each material returns a grey level set by its reflectance at that wavelength, so the differences stretch, and batch to batch colour variation within one material is suppressed. This is a large part of why a monochrome camera with monochrome lighting is more stable than a colour camera for most inspection tasks.
Polarisation: the tool for glare
Specular glare from machined metal, plastic parts, glass and laminated surfaces blows out parts of the image and drowns defects that were there all along. Polarisation works by placing a polarising filter in front of the light source so the illumination reaching the part has a single polarisation direction, then placing a second filter crossed against it in front of the lens. Specular reflection largely preserves the polarisation of the incident light and is blocked by the lens filter, while light that entered the material and scattered back out has its polarisation scrambled and passes through. The result is suppressed glare and clearer texture and defects beneath the surface.
The cost has to be accounted for in advance. A crossed pair of polarisers removes most of the light energy, often leaving only a few tenths of the original throughput, which means either a stronger light or a longer exposure. For a part that is genuinely reflective, that money is usually better spent than repeated algorithm tuning. For a matt surface that already scatters diffusely, polarisation is pure loss with no return. The test is simple: turn off the ambient light, shine a strong torch at the part, and if there is a blinding highlight, polarisation has value.
Filters: keeping ambient light out of the lens
Light on a shop floor keeps changing: sunlight slants in when a roller door opens, a forklift drags a moving reflection across the workstation, a row of ceiling lights fails, the next cell installs new equipment. None of that light has anything to do with the inspection, yet all of it changes the grey levels in the image. When a monochrome source is used, adding a narrow band filter of the same wavelength in front of the lens keeps the great majority of ambient light away from the sensor. This is the cheapest image stability measure available; one filter costs far less than the time later spent chasing those fluctuations.
A filter has a precondition: the source and the filter must share a centre wavelength, and the source must be narrow band. A white lamp behind a narrow band filter simply loses most of its energy and the image only gets darker; an 850 nm infrared source behind an 850 nm filter is an effective combination. Narrow band filters are also angle sensitive — the centre wavelength shifts as the angle of incidence increases — so filtering is weaker at the edges of a wide field than at the centre. Ambient light is only one of the environmental influences on imaging; dust, oil mist, temperature and vibration all play a part, and they are covered together in shop floor environment.
A three-step order of selection
Follow this order and stop swapping lamps at random
- Write down the two things that must be told apart
For example "yellow mark" versus "white packaging", "scratch" versus "intact surface", "adhesive residue" versus "clean substrate". If that sentence cannot be written, the inspection definition is not settled and no choice of lamp will make it work.
- Choose a wavelength that stretches the grey difference
Use the rule of matching colour to brighten and complementary colour to darken, or simply shoot the sample under a set of coloured sources and compare the grey separation between the two objects. Judge contrast at this step, not brightness.
- Add polarisation and filtering to hold the image steady
Add crossed polarisers where there is specular glare, and a narrow band filter where ambient light varies. Both must be costed in energy, and the source power or exposure may need revisiting afterwards.
Common questions about lighting
Is a monochrome camera always better than a colour camera?
For a verdict task, usually yes. The monochrome sensor puts more sensitivity and resolution per pixel to work, monochrome light stretches material differences, and the data volume is a third of colour, easing both bandwidth and compute. Colour cameras earn their place where colour itself is the feature: wire sequence, colour deviation, print registration.
What can infrared see through, and what can it not?
Common uses are reading structure hidden under dark inks and seeing internal parts through some plastic housings. It does not pass through metal, and most glass absorbs or reflects it. Note also that lens coatings and filters have to be designed for infrared: a standard lens shifts its focus position under infrared and needs refocusing.
Is ultraviolet lighting safe?
Ultraviolet is hazardous to eyes and skin, so shielding is mandatory and nobody should be able to look at the source directly. In production it normally sits inside an enclosed station with the source interlocked to the access door. Confirm that the enclosure and interlock can be provided before choosing a UV approach — it tends to block projects earlier than technical feasibility does.
Does the light on your line keep changing?
Tell us what you are inspecting and what the ambient light is like, and we will suggest a wavelength and whether polarisation and filtering are worth it.
Related articles
-
Alarm Fatigue: Why the Floor Turns the System Off
Many visual SOP systems are not beaten by technical problems — they are muted by…
Read more → -
Visual SOP Camera Selection and Mounting
Camera selection for visual SOP is not the same as for product inspection. The s…
Read more → -
Vision Monitoring at the Semiconductor Die Bonder
Semiconductor packaging stations are characterised by high precision, fast cycle…
Read more → -
Wrong-Assembly Alarms Without the False Alarms
The most common reason a visual SOP project fails is not poor recognition — it i…
Read more →
Need specific advice for your production line?
Our engineers can share practical approaches to process error prevention and SOP compliance inspection for your scenario.
Request a free trial plan